Simple & Delicious Breakfast Recipe
Table of Contents
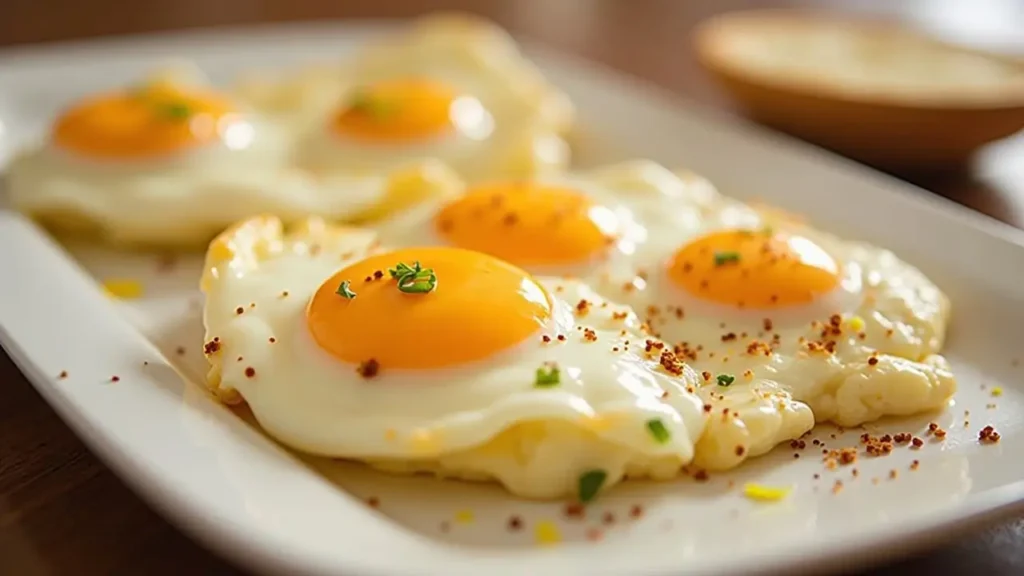
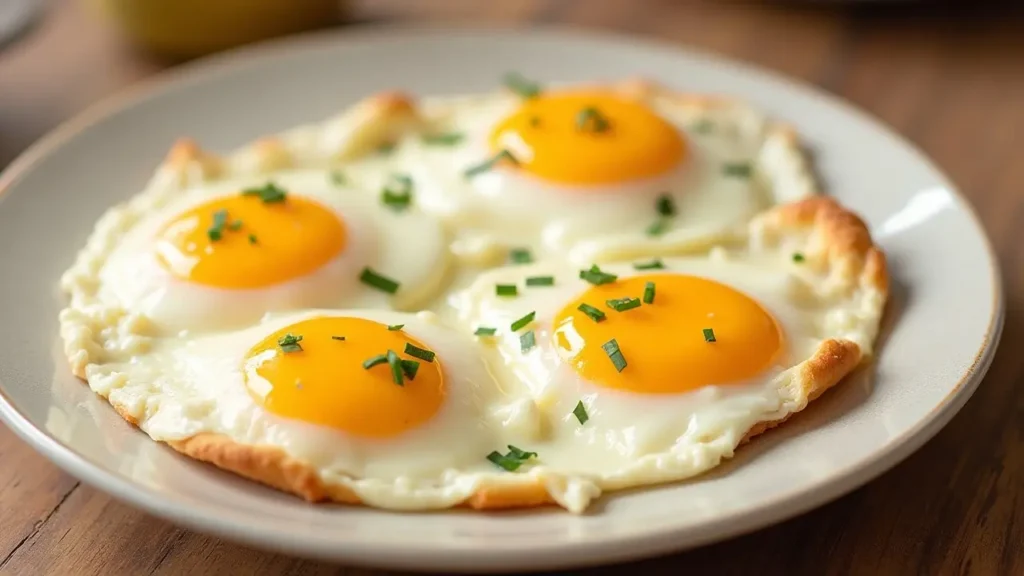
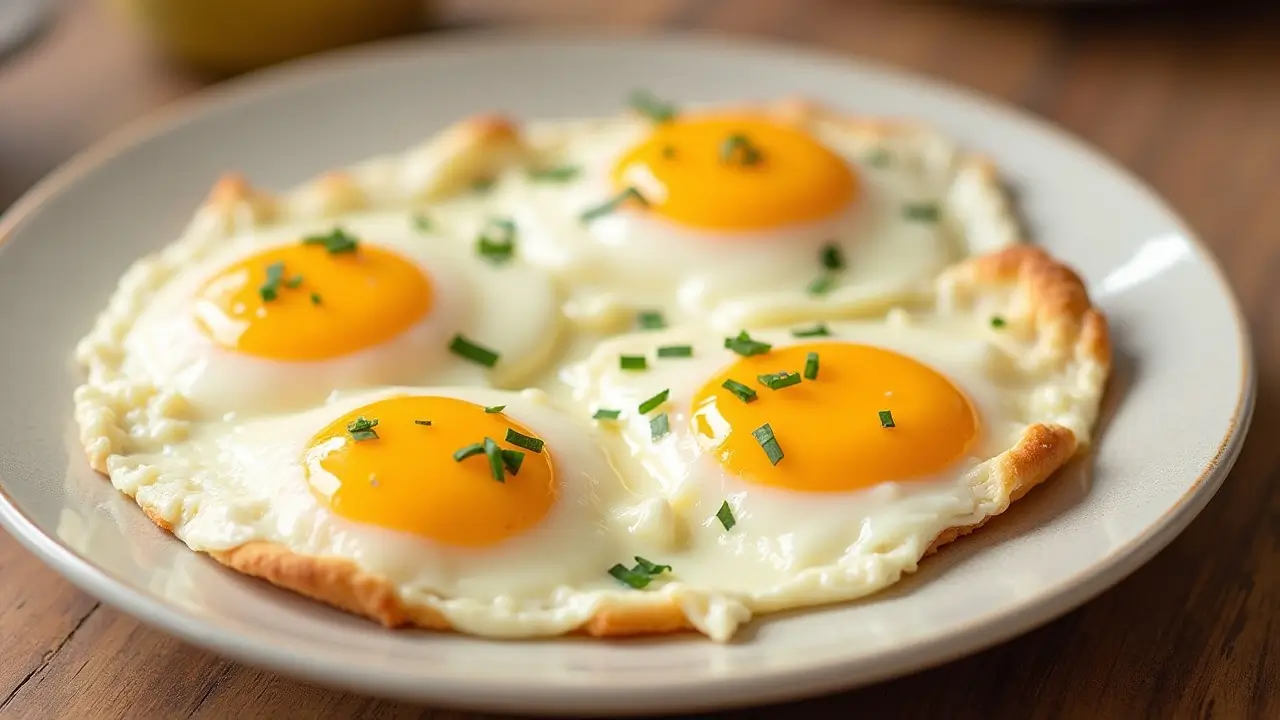
There’s something undeniably comforting about a perfectly cooked sunny-side up egg. With its tender white edges and a golden, runny yolk that’s just waiting to be dipped into, this classic breakfast dish is pure joy on a plate. Whether you’re a seasoned chef or just getting started in the kitchen, sunny-side up eggs are one of those meals that are as easy as they are delicious.
I remember the first time I mastered the art of making sunny-side up eggs. It was a Sunday morning, and I was craving a simple breakfast, but didn’t want anything too complicated. I cracked an egg into a sizzling hot skillet and—voila!—the magic happened. The egg whites set beautifully, and the yolk stayed gloriously intact. I was hooked!
What makes this dish so special is its simplicity. With just a few ingredients and minimal prep time, you can whip up a breakfast that’s not only healthy but also mouthwateringly tasty. Plus, it’s an excellent addition to any meal, whether it’s brunch with friends or a quick weekday breakfast.
If you love the idea of a quick and delicious breakfast, be sure to check out our Avocado Toast with Poached Eggs for a similar, but equally satisfying dish. But for today, let’s dive into making the perfect sunny-side up eggs!
What is Sunny-Side Up Eggs?
So, what exactly are sunny-side up eggs? The name says it all! Sunny-side up refers to eggs that are fried on one side only, leaving the yolk beautifully bright and visible, just like the sun shining in the sky. But why “sunny-side up”? Well, think about it—when you crack an egg and cook it gently, the yolk stays round and radiant, like the sun peeking over the horizon. It’s one of those breakfast classics that’s simple, charming, and packed with flavor.
Why do we love them so much? Because they’re the epitome of comfort food, a true breakfast favorite. And as the saying goes, “The way to a man’s heart is through his stomach”—there’s something about the richness of sunny-side up eggs that makes them irresistible. So, why not give this iconic dish a try and let it brighten up your morning?
Why You’ll Love These Sunny-Side Up Eggs
There are so many reasons to love sunny-side up eggs, but here are the three key things that make them stand out:
- Quick & Easy to Make: With just a handful of ingredients and a few minutes, you can enjoy a hearty, satisfying breakfast. No long prep times, just simple steps for a delicious result.
- Cost-Effective: Eggs are an affordable staple, and they’re packed with protein, healthy fats, and essential vitamins. Making sunny-side up eggs at home saves you money while still delivering a nutritious meal.
- Perfect for Pairing: Sunny-side up eggs are wonderfully versatile! They pair well with toast, salads, bowls of rice, or even a crispy breakfast potato. They’re also the perfect topping for dishes like avocado toast or grain bowls, offering an extra boost of protein.

If you love a simple yet satisfying breakfast, you might also enjoy our Scrambled Eggs with Spinach. The creamy texture and protein-packed goodness will keep you full for hours. But trust me, there’s something special about sunny-side up eggs that makes them a standout breakfast choice. Now let’s break down how to make this delicious dish!
How to Make Sunny-Side Up Eggs
Quick Overview
Making sunny-side up eggs is simple and straightforward. All you need are eggs, oil or butter, a non-stick skillet, and just a little bit of patience. This dish is perfect when you’re short on time but still want a wholesome meal. Plus, you can whip up this breakfast in less than 10 minutes, making it ideal for busy mornings.
Key Ingredients for Sunny-Side Up Eggs
To make sunny-side up eggs, here’s what you’ll need:
- 2 large eggs (or as many as you want to make)
- 1 tablespoon of butter or olive oil (for frying)
- Salt and pepper, to taste
- Fresh herbs (optional, for garnish)
Here’s a tip: If you prefer extra flavor, feel free to sprinkle a pinch of paprika or cayenne pepper for a subtle kick. You can also add fresh herbs like parsley or chives for a burst of freshness!
Step-by-Step Instructions
- Heat the Pan: Place a non-stick skillet on the stove and turn the heat to medium-low. Add the butter or olive oil and let it melt, swirling the pan to coat the bottom evenly.
- Crack the Eggs: Carefully crack one egg into a small bowl (this helps you avoid shell fragments) and gently slide it into the skillet. Repeat with the second egg if you’re making more than one. Be careful not to break the yolks!
- Cook the Eggs: Allow the eggs to cook for about 3-4 minutes. You’ll notice that the whites will begin to firm up while the yolk stays intact and slightly runny. You can cover the skillet with a lid for a minute to help cook the whites evenly without overcooking the yolk.
- Season: Once the whites are set and opaque, but the yolk is still runny, season with a pinch of salt and pepper. If desired, add a sprinkle of fresh herbs, like parsley or chives, for added flavor.
- Serve: Gently slide a spatula under the eggs and carefully transfer them to a plate. Serve immediately while the yolk is still runny and the whites are tender.
What to Serve Sunny-Side Up Eggs Wit
While sunny-side up eggs are delicious on their own, they’re even better when paired with other tasty dishes. Here are a few ideas to complete your meal:
- Toast: Serve the eggs on a slice of toasted sourdough, whole wheat, or rye bread. For an extra touch, spread a little avocado on top!
- Breakfast Potatoes: Crispy, golden breakfast potatoes pair beautifully with the richness of the sunny-side up egg yolk. Don’t forget the seasonings!
- Salads: Sunny-side up eggs are perfect for topping fresh salads, adding richness and protein to the dish. Try them on a simple arugula salad or a hearty grain bowl.
- Grains: Serve the eggs on a bowl of quinoa, rice, or farro for a filling, balanced meal.
For something extra special, pair these eggs with a hot cup of coffee or fresh orange juice for a refreshing breakfast combo.
Top Tips for Perfecting Sunny-Side Up Eggs
- Use the Right Pan: A non-stick skillet is your best friend when making sunny-side up eggs. It prevents sticking and allows the eggs to cook evenly.
- Low and Slow: Cooking over medium-low heat is key to ensuring the egg whites set without overcooking the yolk. Patience is essential for achieving that perfect runny yolk!
- Covering the Pan: If you’re having trouble cooking the whites all the way through without overcooking the yolk, place a lid on the skillet for 1 minute. The steam will help cook the whites without disturbing the yolk.
Storing and Reheating Tips
- Storing Leftovers: Sunny-side up eggs are best eaten immediately after cooking. However, if you have leftovers, store them in an airtight container in the fridge for up to 1 day.
- Reheating: To reheat, place the eggs in a microwave-safe dish and heat for 20-30 seconds. Keep in mind that the yolk may firm up during reheating, but the eggs will still be delicious!

Recipe Schema Markup for Sunny-Side Up Eggs
- Preparation Time: PT3M
- Cooking Time: PT4M
- Total Time: PT7M
- Type of Recipe: Breakfast
- Cuisine: American
- Keywords: sunny-side up eggs, fried eggs, simple breakfast, quick breakfast, healthy eggs, easy breakfast recipe
- Recipe Yield: 2 servings
- Calories: 90 per egg
Pros
- Quick and easy to make
- Affordable and nutritious
- Customizable with various seasonings and toppings
Cons
- Best eaten immediately
- Yolk consistency can vary based on cooking time
With its simple preparation and delightful flavor, sunny-side up eggs are a breakfast staple that will never go out of style. So, whether you’re starting your day or enjoying a lazy weekend brunch, this recipe is sure to brighten your morning. Grab your eggs and pan, and get cooking!

